All projectsBathroom Remodel · Project Album

Built right, tile by tile.

Subfloor demo, Schluter DITRA uncoupling membrane, large-format porcelain flooring, and a custom pebble-tile shower floor — the full build, step by step.

01Demo
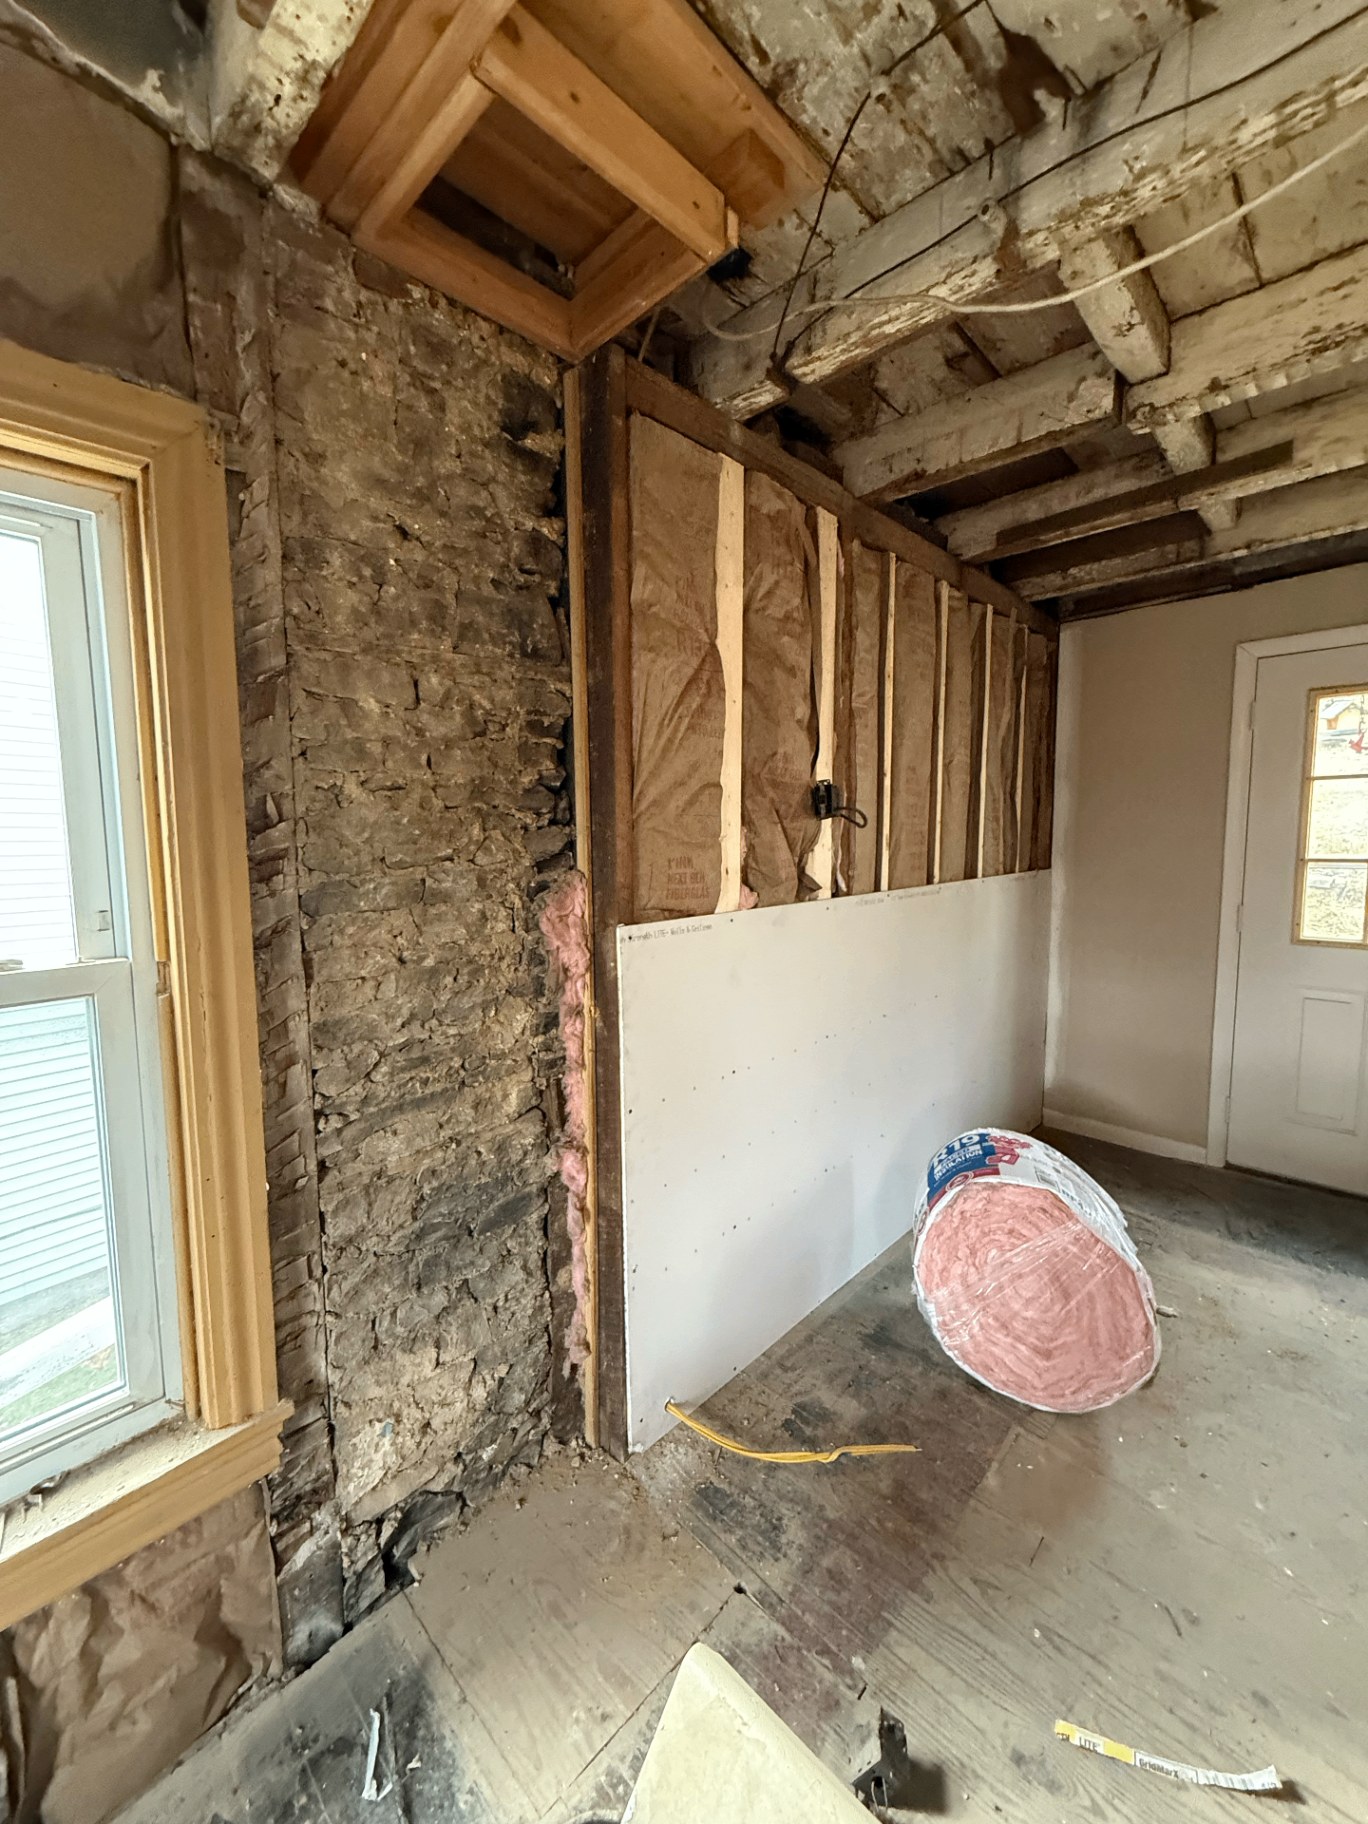
Bathroom subfloor demo with exposed joists and new plywood patched in
Subfloor demo — joists exposed and new plywood patched in to give the new tile a flat, solid base.
02Underlayment
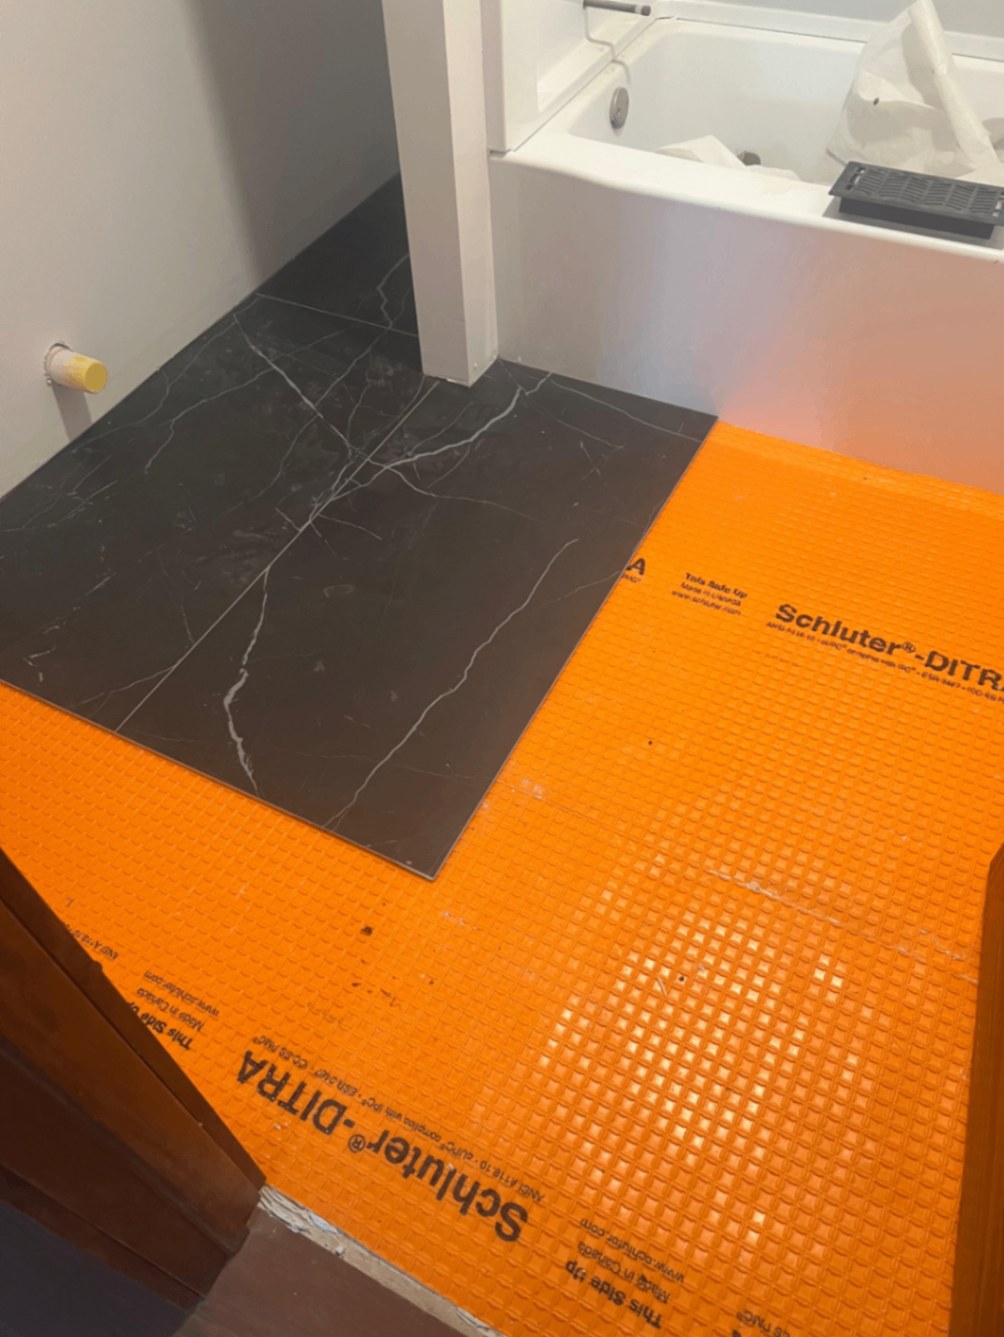
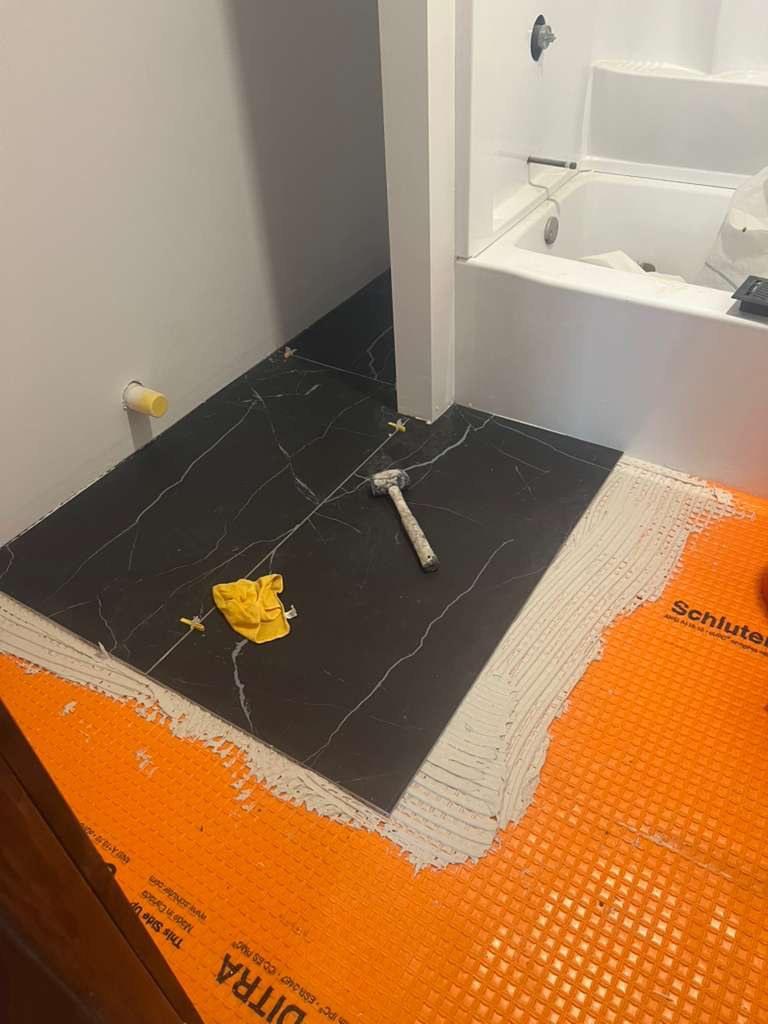
Schluter DITRA uncoupling membrane installed before bathroom tile
Schluter DITRA uncoupling membrane laid over the subfloor — prevents cracked tile and grout down the road.
03Tile Layout
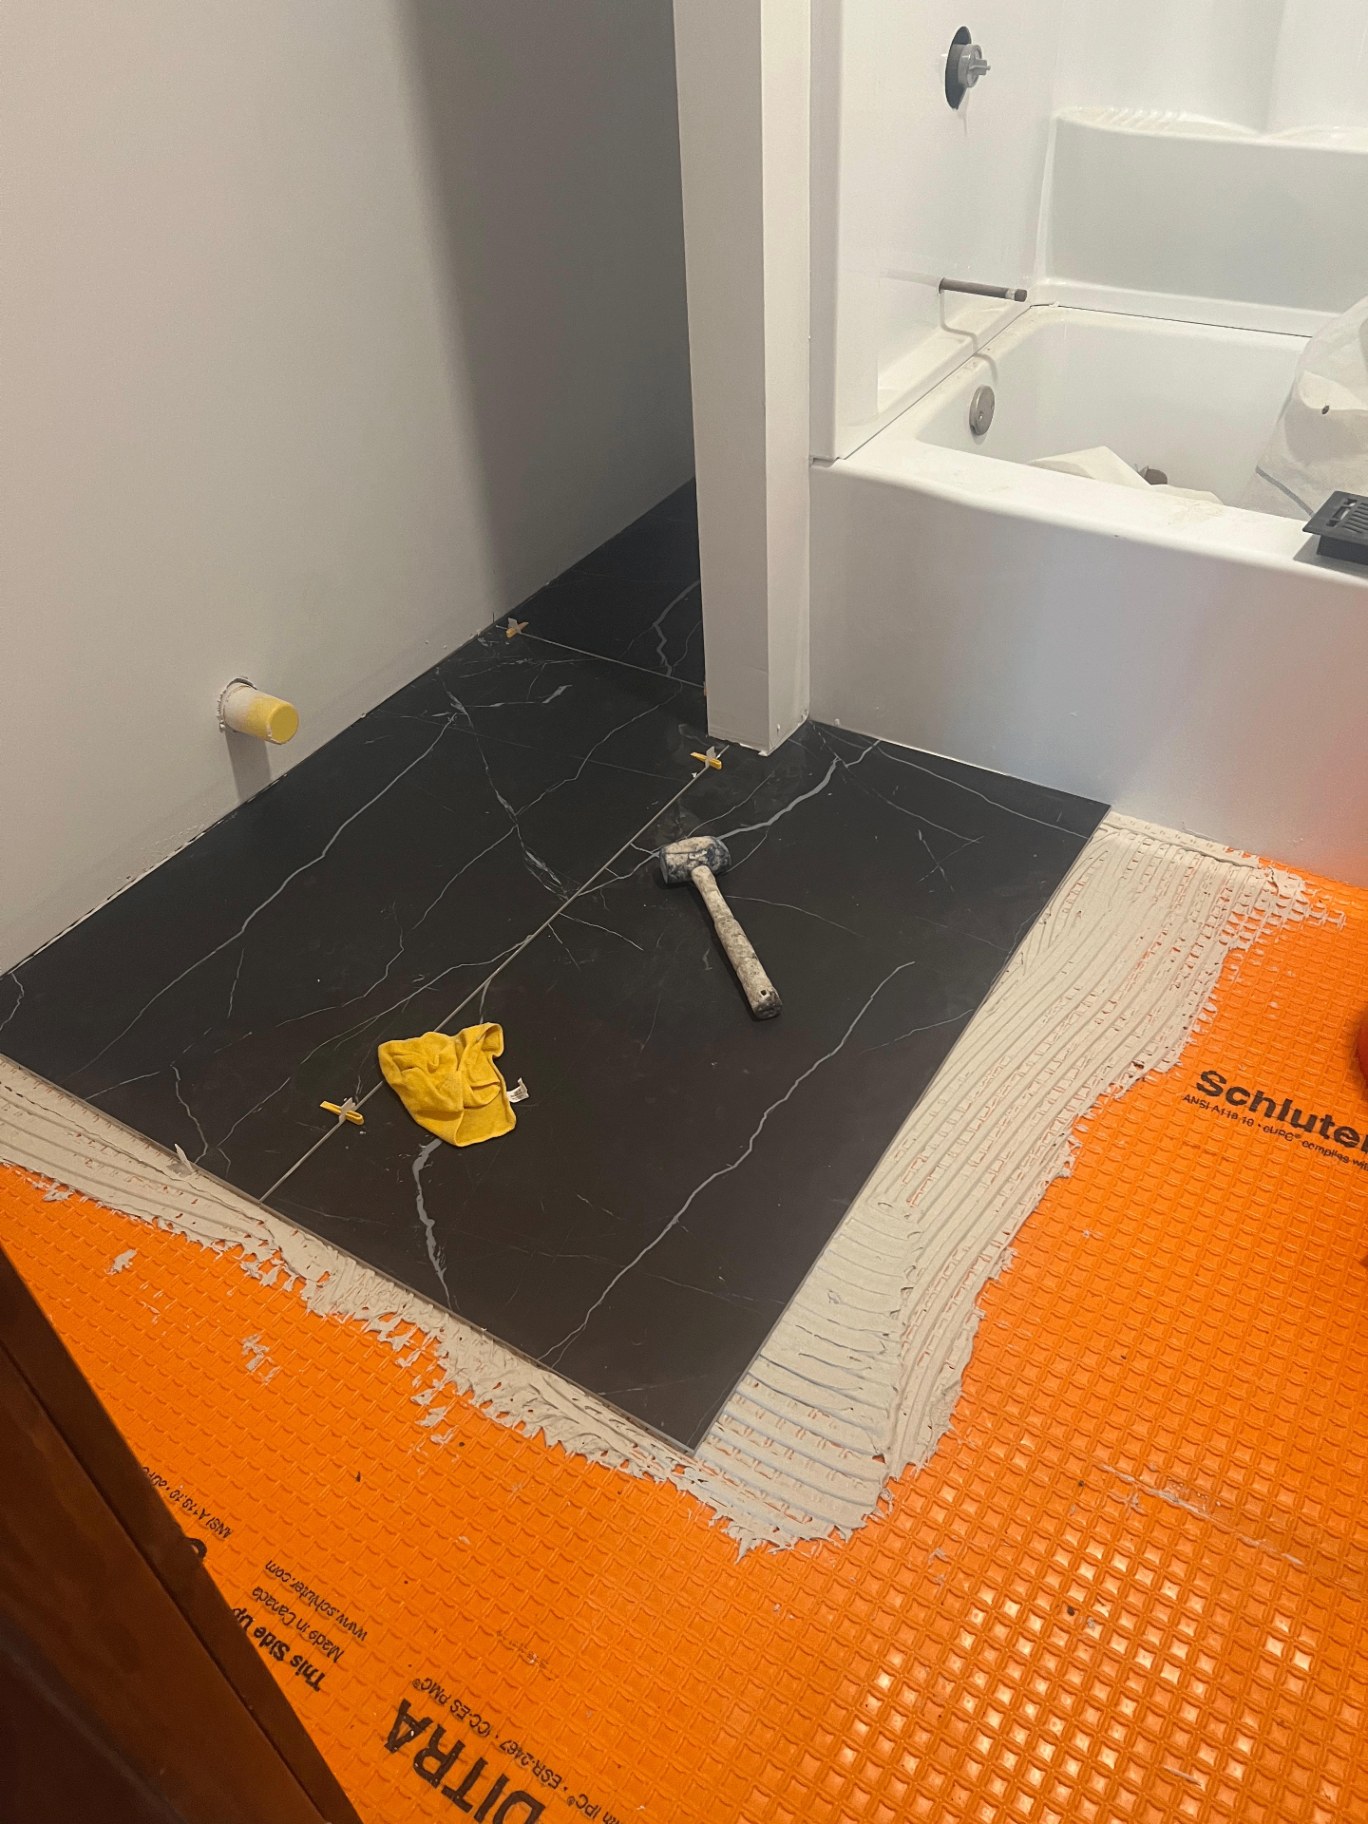
Bathroom floor tile being laid with spacers and thinset
Layout dry-fit with spacers — measured twice so cuts land in the right places.
04Leveling
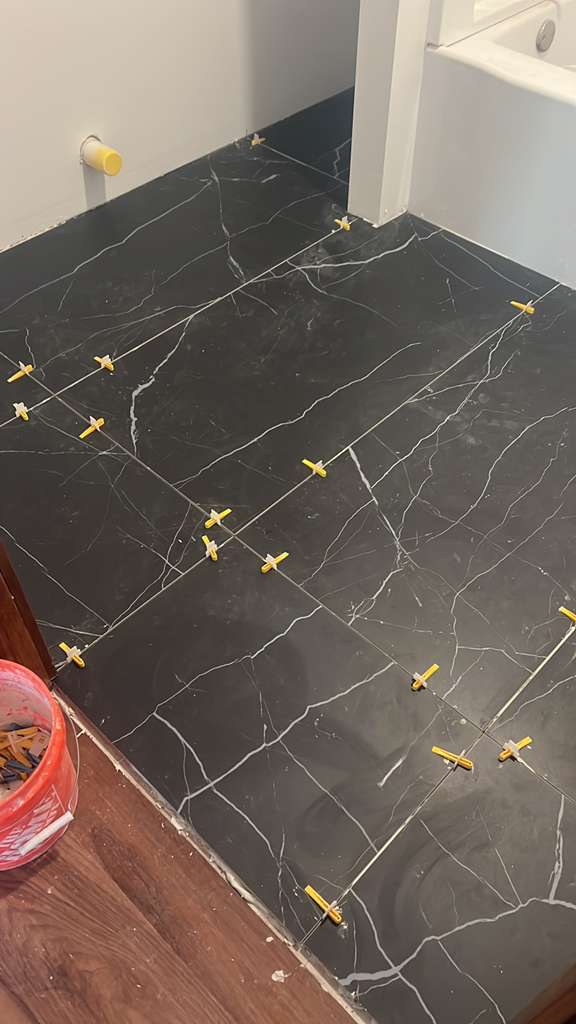
Large-format black marble-look porcelain tile with leveling clips
Large-format porcelain set with leveling clips for a perfectly flat finish — no lippage.
05Detail
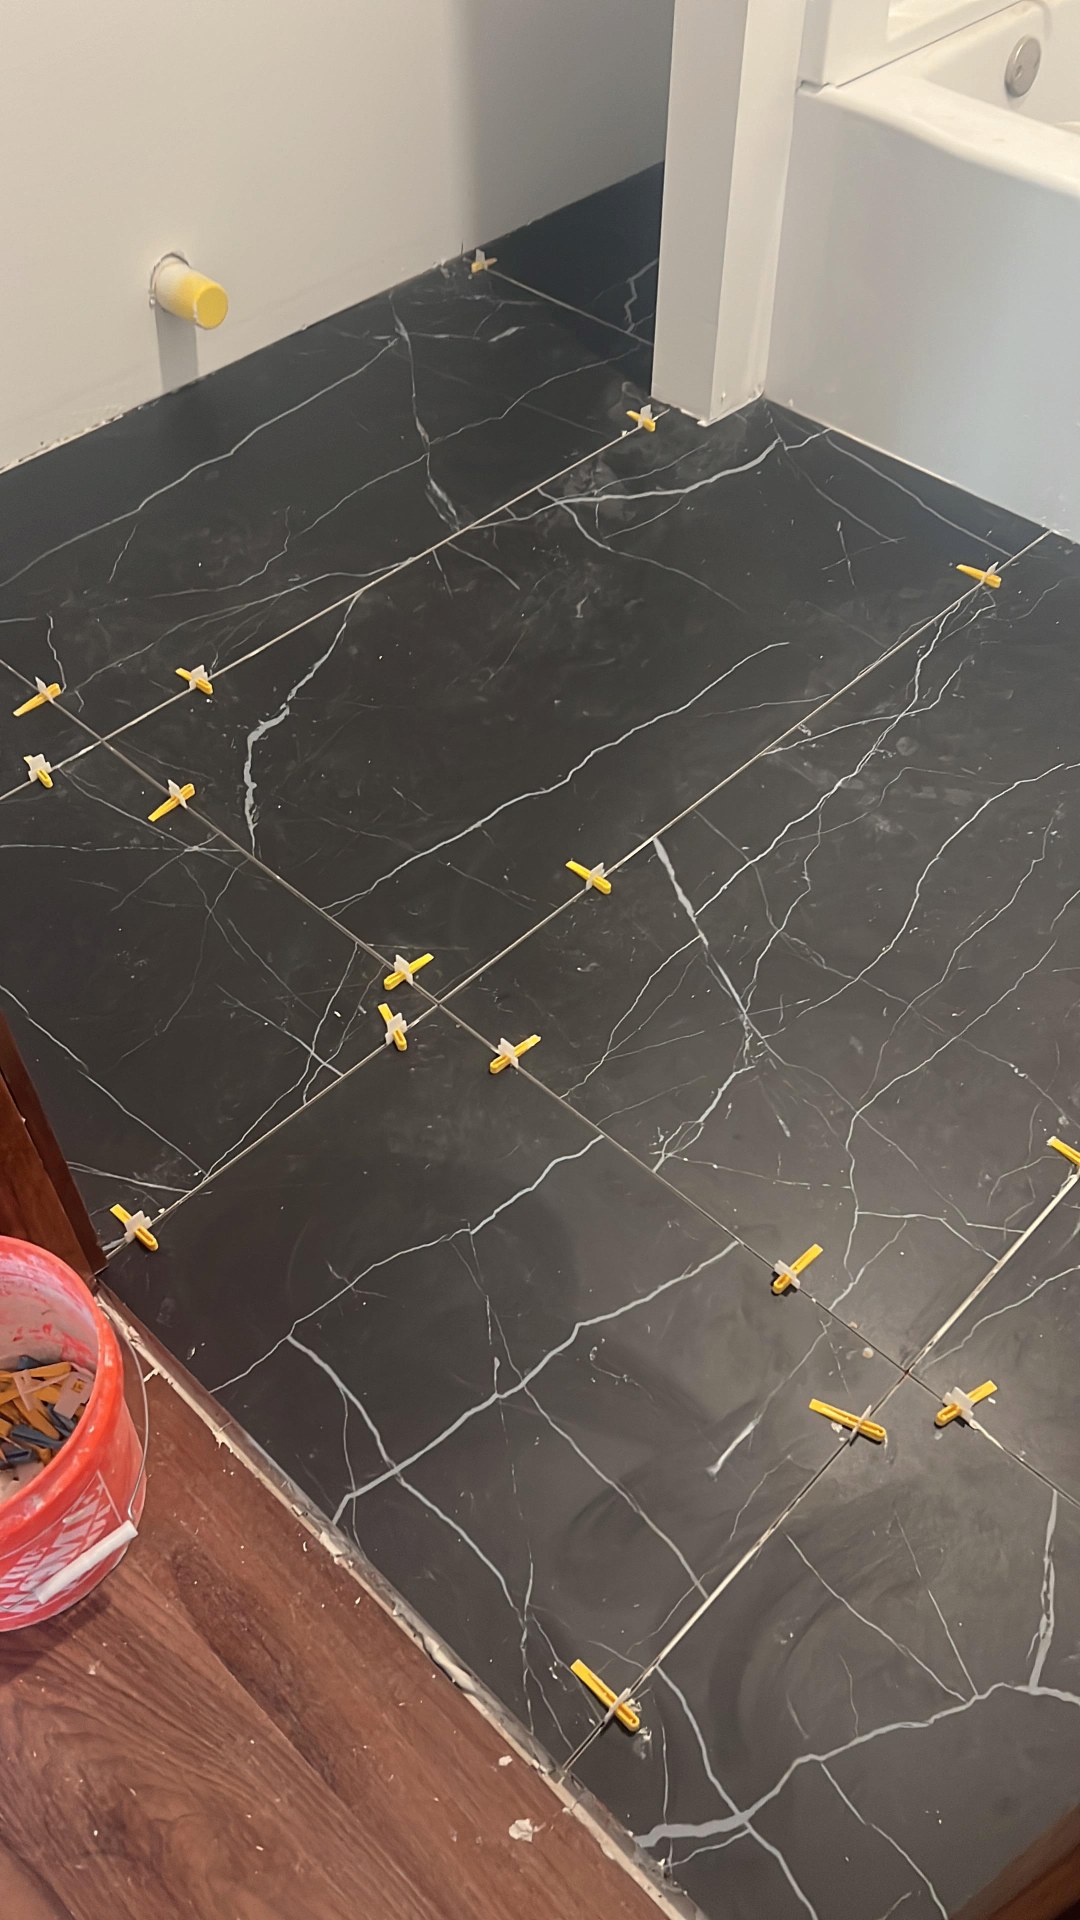
Close-up of bathroom floor tile with tight, consistent grout joints
Tight grout joints and consistent layout — the details that make a floor look custom.
06Finished Floor
Finished bathroom floor with black marble-look porcelain tile
Black marble-look porcelain, grouted and finished — clean, modern, built to last.
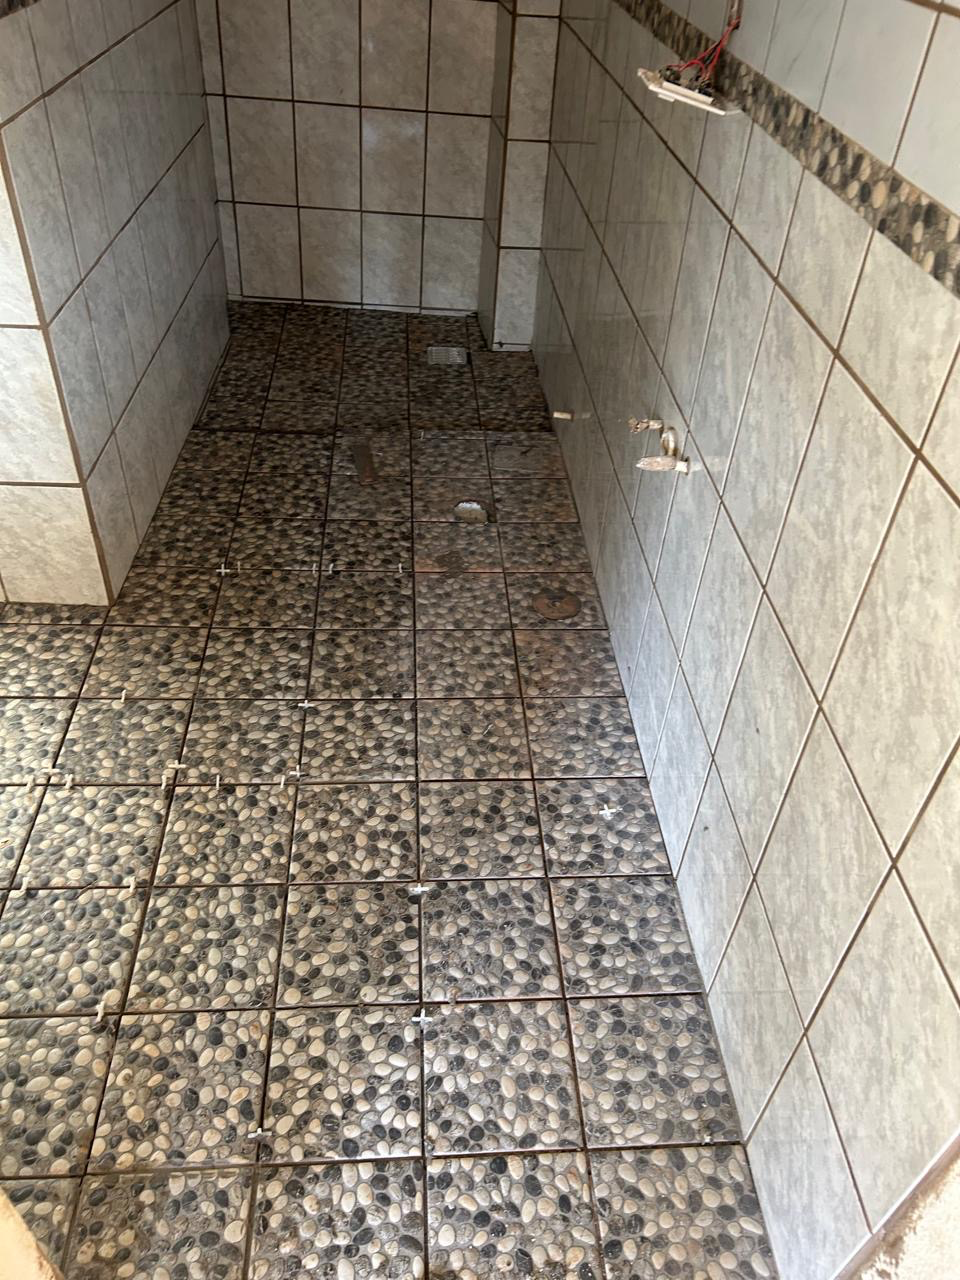
07Custom Shower
Custom bathroom shower with pebble-pattern floor tile and ceramic walls
Custom shower floor with pebble-pattern tile and ceramic wall tile — a one-of-a-kind finish.

Ready to remodel your bathroom?

Free estimates · Licensed & Insured · Family-owned

Call NowGet Estimate